


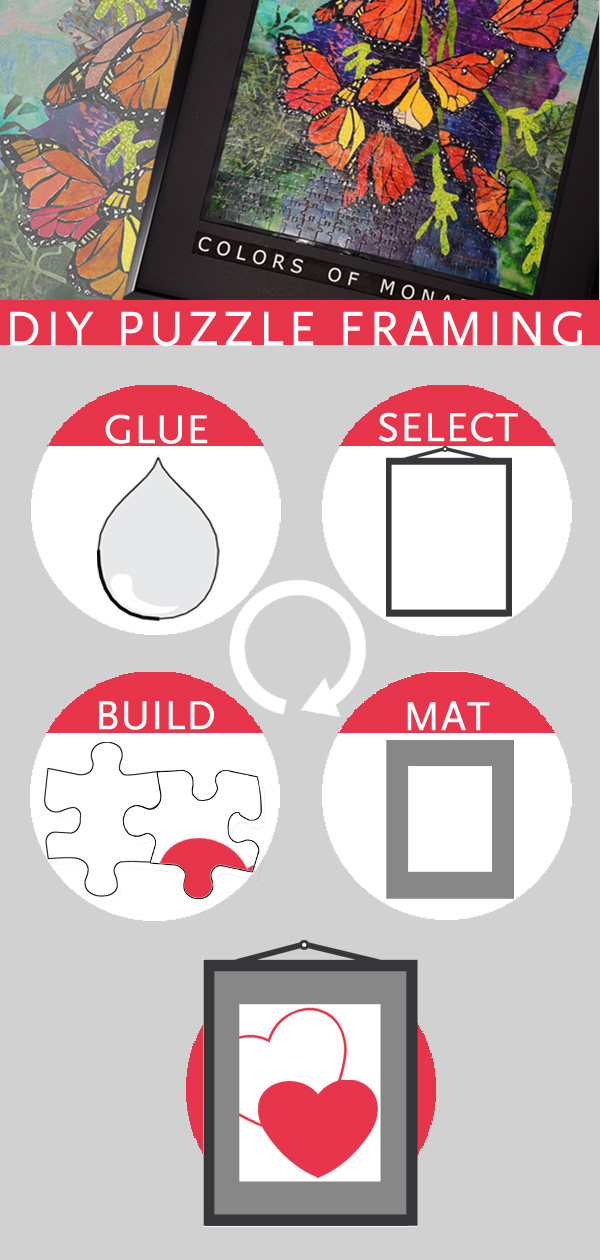
After you declared “I am sure there are missing pieces”; after you sighed “it is not possible that this piece doesn’t fit in here”; and after you finally proclaimed “I did it”, you certainly want to display your triumph. It is a great satisfaction to see the completed puzzle hanging on your wall. So how can you frame a puzzle yourself?
How do you like your puzzle to look on the wall?
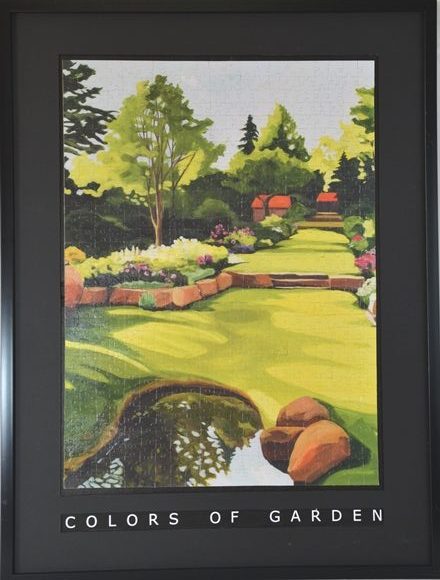
Frame: Choose a frame style that match your home décor to create a consistent look. We like to leave about 2.5” to 3″ on each size as quiet space to help focus the eyes on the artwork. The actual size of the frame may be restricted though if you are going with readymade frames. Protective cover: We left ours uncovered. However, glass or a transparent plastic cover can protect the puzzle. You can select material that minimizes glare and offers UV protection. Backer board and mat: To keep the cost down, we use bristol boards as backer and mat. If you go with a regular mat, you can select the thickness and cut angle. Color of backer board and mat: Color is very personal. We like to lean on the dark size to draw the eyes to the colorful and intrigue artwork. This may be black or a dark color selected from the puzzle to create a harmonious look. Title/Quote: Including a title or quote is fun. Make sure to leave adequate space when selecting the frame. Supplies to glue and frame jigsaw puzzles
|
|
1. Print the title/quote if applicable |
2. Prepare the background: Cut the backer board and mat to the size of the frame. Cut out the openings for the puzzle and title slot on the mat. We prefer to “bury” the cut edge of the mat by coloring it with the color of the mat.
 |
| 3. Prepare the puzzle: Lay the puzzle on a flat working surface covered with a piece of smooth scrap paper. The scrap paper is there to protect your work surface from the glue. We normally complete our puzzle on the scrap paper to avoid the need to transfer the puzzle onto a different surface. Check to make sure all pieces lie flat and fit well together before proceeding. |
4. Glue the puzzle: Brush the hobby glue on the front of the puzzle. Proceed slowly to work the glue into the puzzle cracks so that the pieces are glued together. The white marks left by the glue will disappear when the glue dries. Allow to dry completely. The puzzle should now be in one piece.
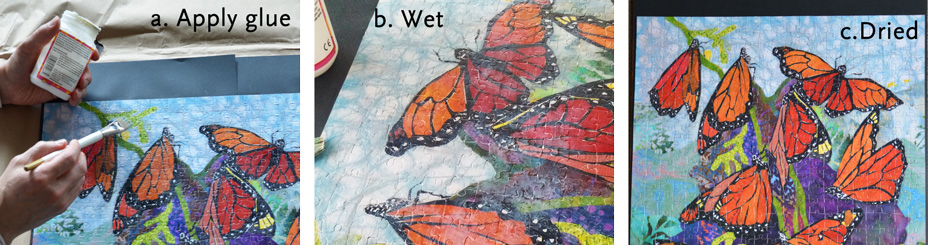 |
5. Double glue: Flip the puzzle over and place on a piece of clean scrap paper. Apply the glue to the back as before. Allow to dry completely.
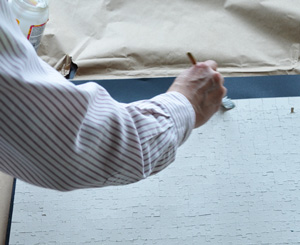 |
| 6. Mount puzzle: Mark the position of the puzzle on backer board and spread the craft glue evenly on the board. You may consider using a strong spray-glue as well. Place the puzzle onto the marked position. Use a roller to go over the top of the puzzle to establish firm contact to the board. Let dry. |
| 7. Final touch: Place the mat on top and mount in frame. That’s it. It is time to sit back and enjoy. Have fun piecing your puzzle together. |
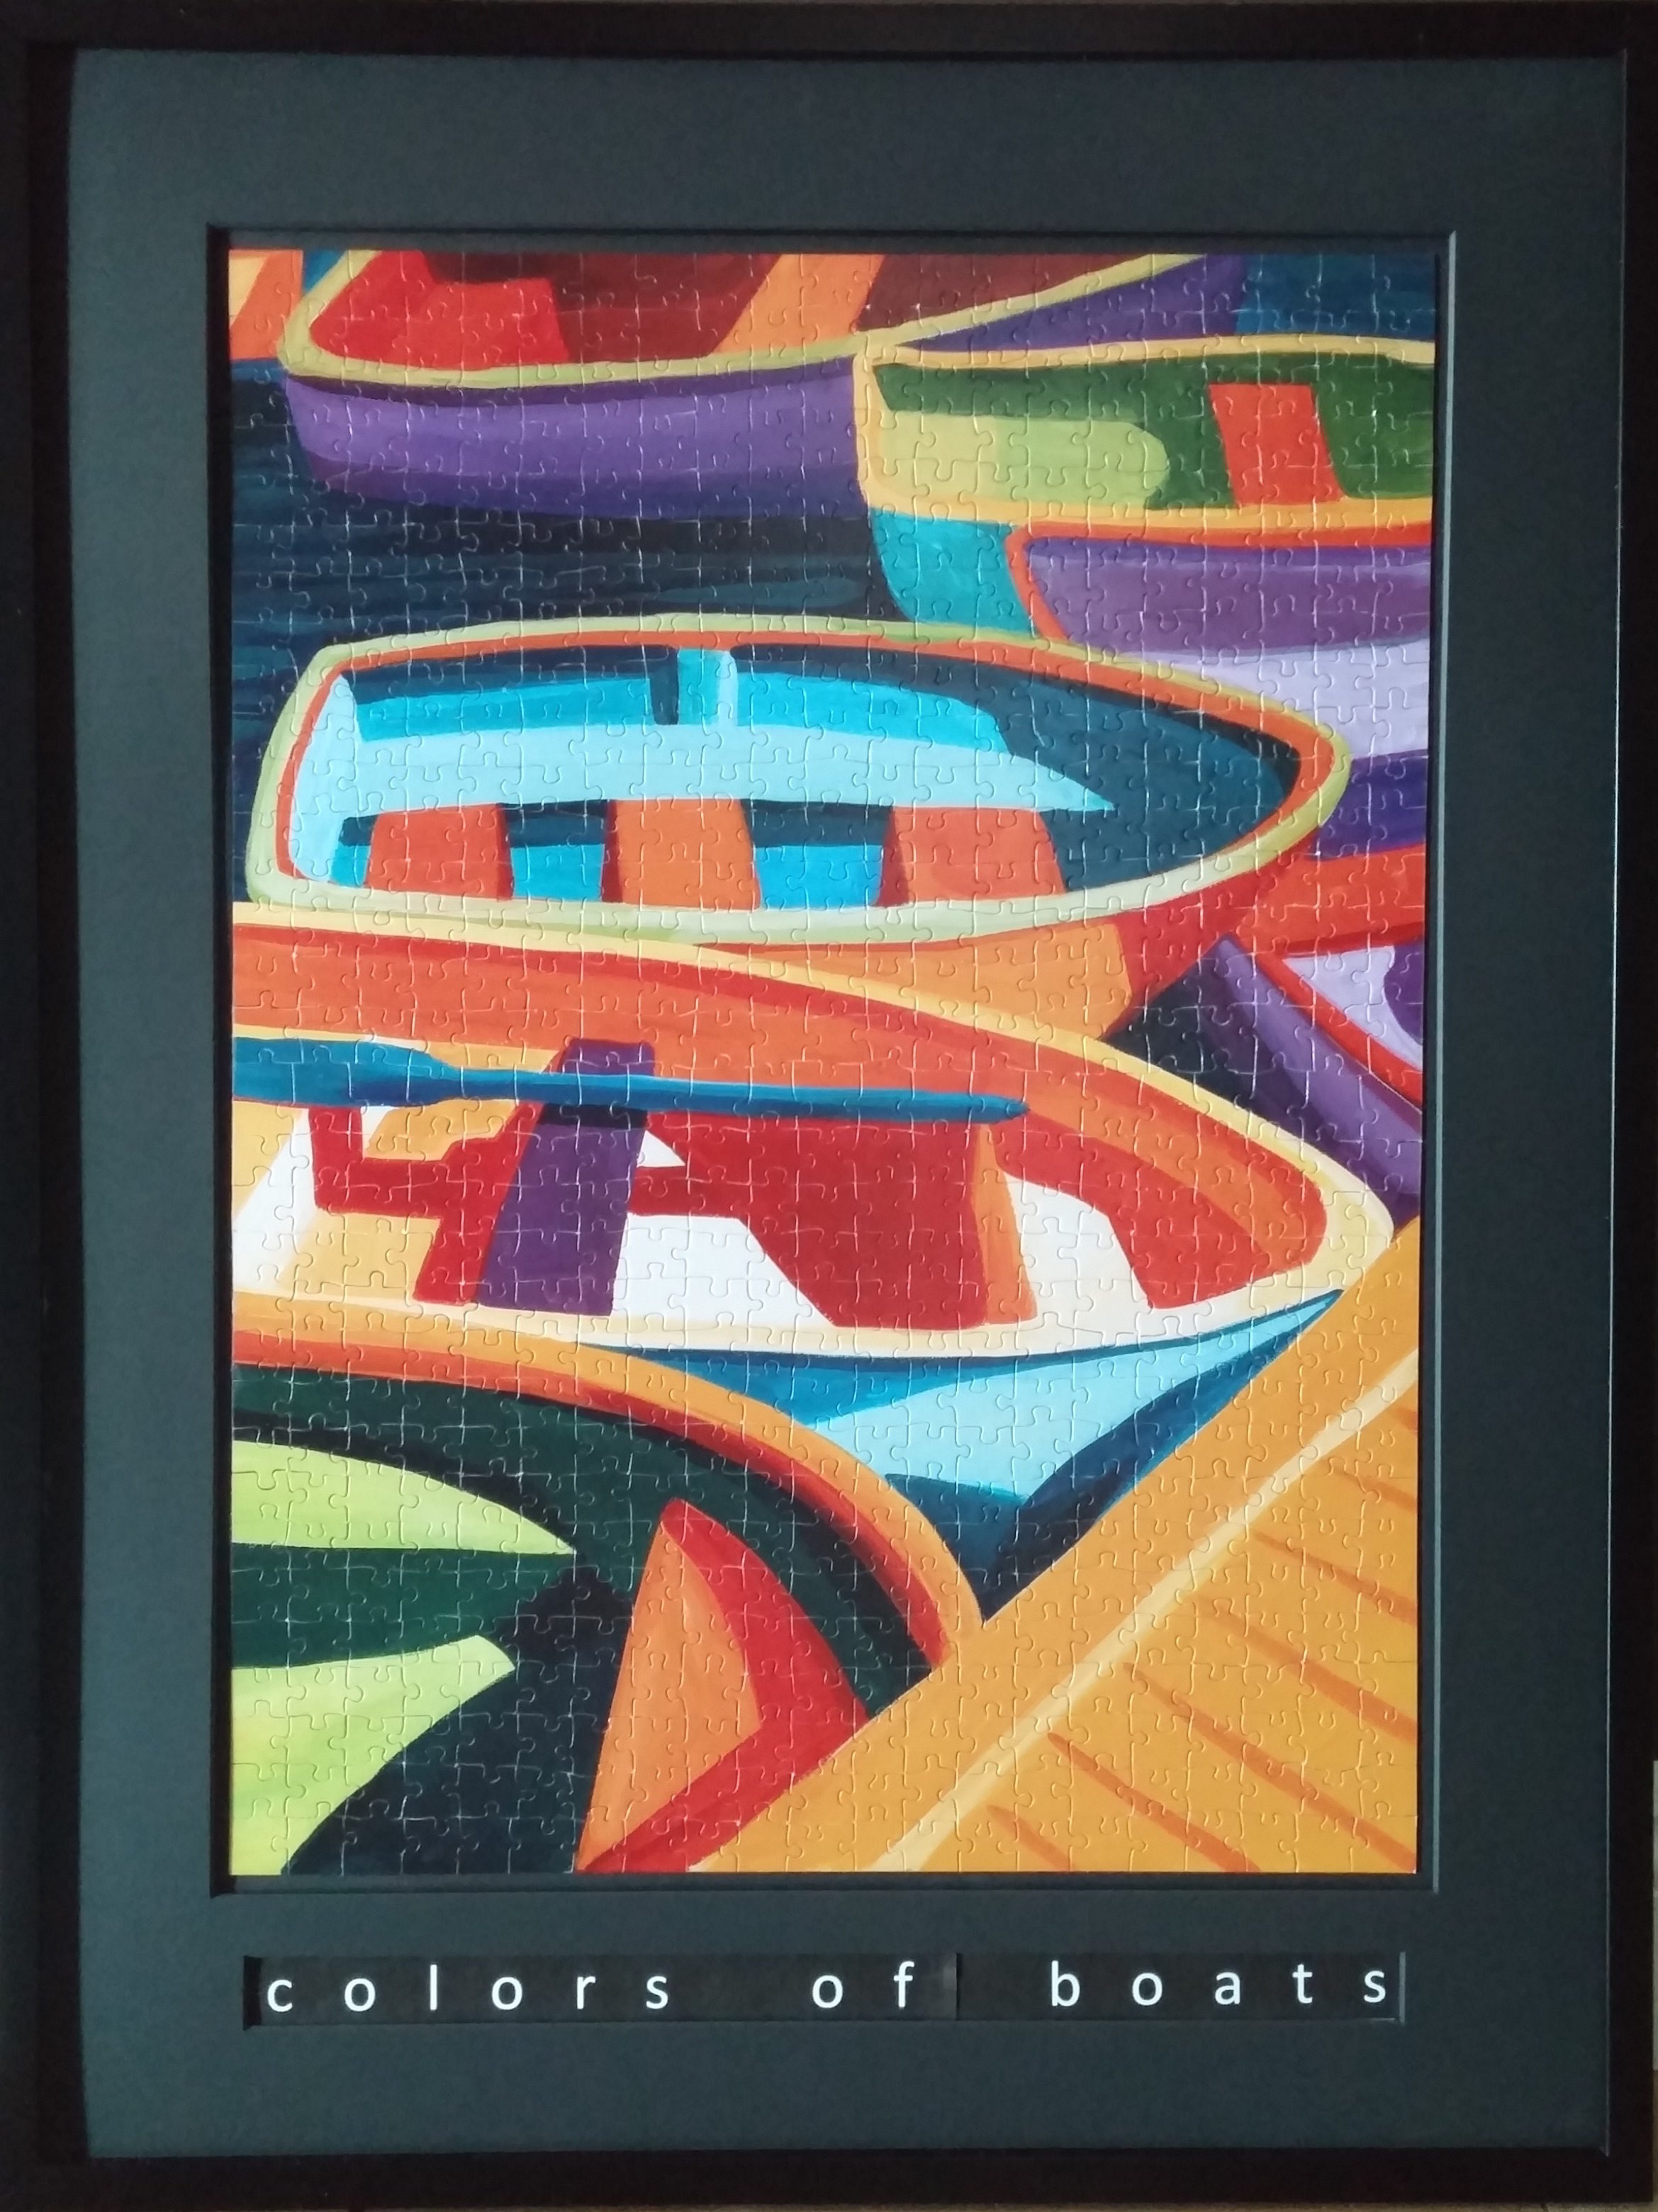
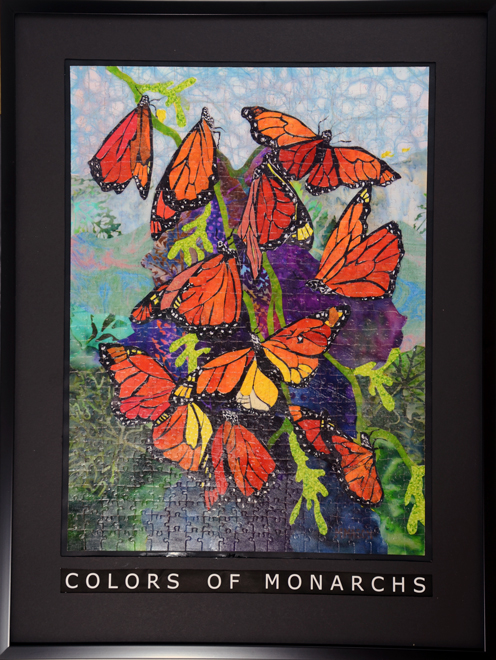
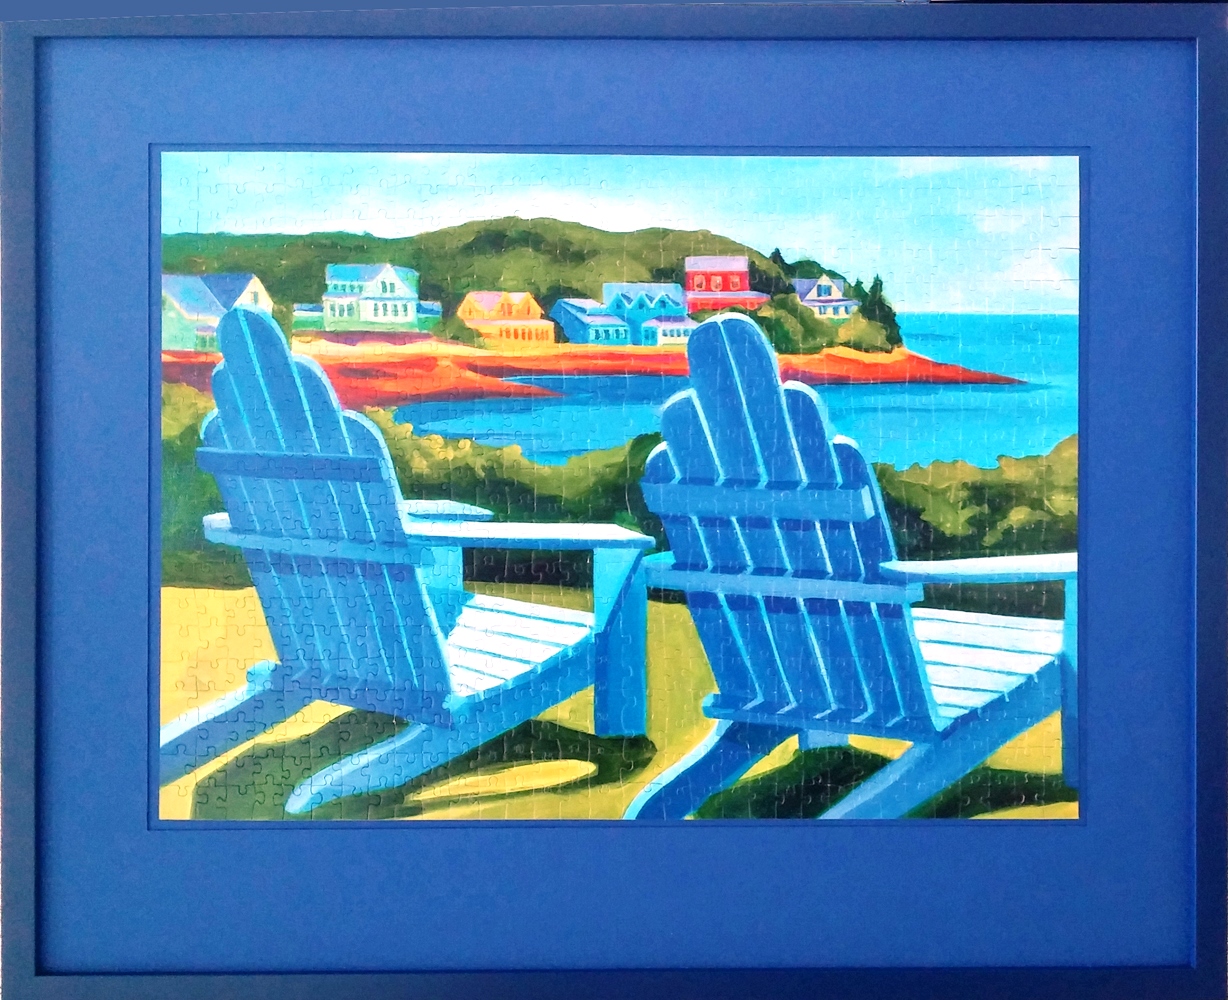


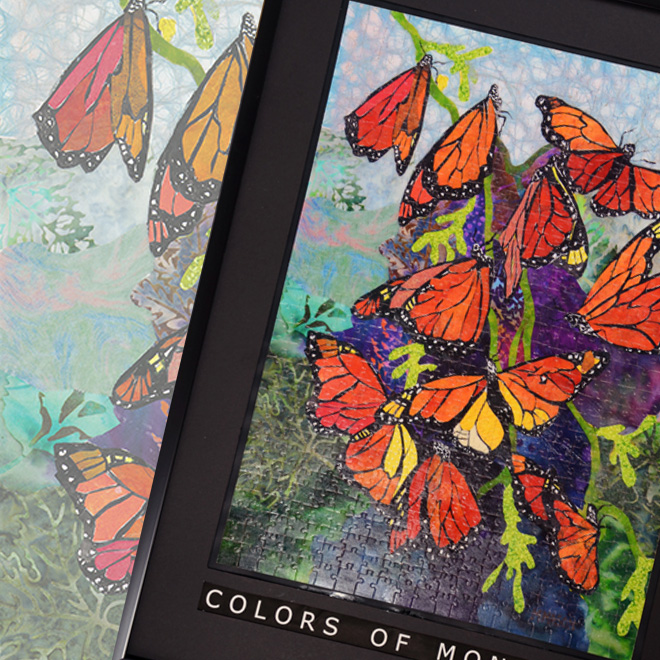 Some upfront planning can help move the project along quickly. As our puzzles are created from beautiful artwork, we like to frame up our puzzles like paintings.
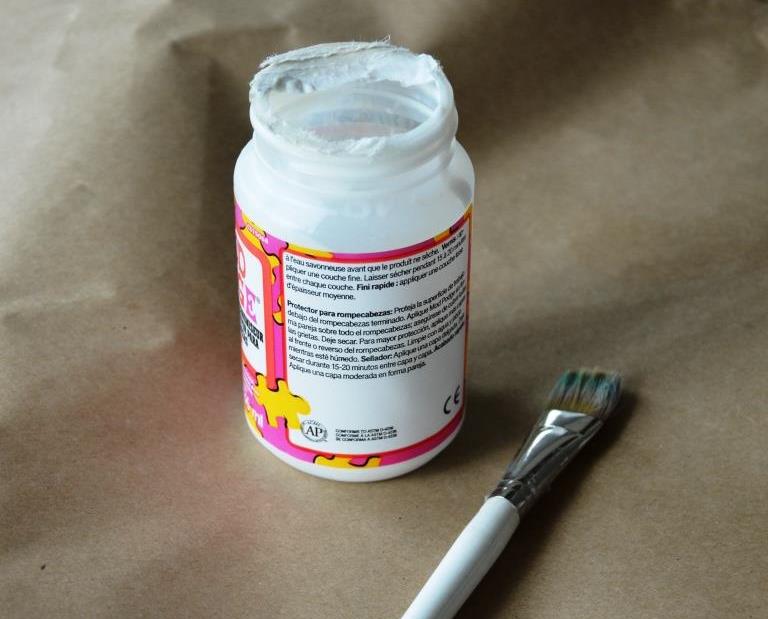 We got all of our supplies from a neighborhood art and craft store.